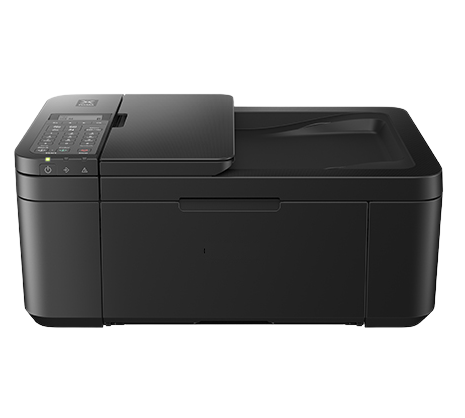
Connecting your Epson printer to a wireless network is straightforward with these four practical methods. Whether you prefer using a touchscreen, the WPS button, a USB cable, or the Epson Smart Panel app, we have you covered.
Method 1: Touchscreen Interface
If your printer includes a touchscreen, you can directly access the Network Settings to run the Wi-Fi Setup Wizard. This method is intuitive and user-friendly, ideal for those with touchscreen models like the Epson ET 3850. Access this feature through Settings > General Settings > Network Settings > Wi-Fi Setup.
Method 2: WPS Push Button
This method suits those with non-touchscreen printers. It’s a straightforward process: position your printer close to the Wi-Fi router, press and hold the Wi-Fi button on your printer until the indicator flashes, then do the same on the router’s WPS button. No password needed, and connectivity is achieved once the indicators cease flashing.
Method 3: USB Cable Connection
Although it might seem counterintuitive when setting up a wireless connection, using a USB cable is only a temporary step. Connect your printer to your PC via USB, visit the Epson Setup Navi website, and follow the steps to establish a Wi-Fi connection, then disconnect the USB cable for a seamless wireless experience.
Method 4: Epson Smart Panel App
For those preferring to use their smartphones, the Epson Smart Panel app is your go-to. Available for both Android and iOS, this method involves downloading the app, following the on-screen instructions, and connecting your printer to the same Wi-Fi network as your device. Note that this method is compatible with specific printer models only.
Final Insights: Achieving Wireless Freedom
With these four methods, your Epson printer is ready to deliver a flexible and efficient printing experience. Choose the one that best suits your setup and enjoy the convenience of wireless printing today.